Make Your Own Shoe Rack Very Easily
Instead of spending money to buy a shoe rack, you can collect a few ideas here on how you can build one yourself quickly and easily. And that with materials that you will have safely at home.
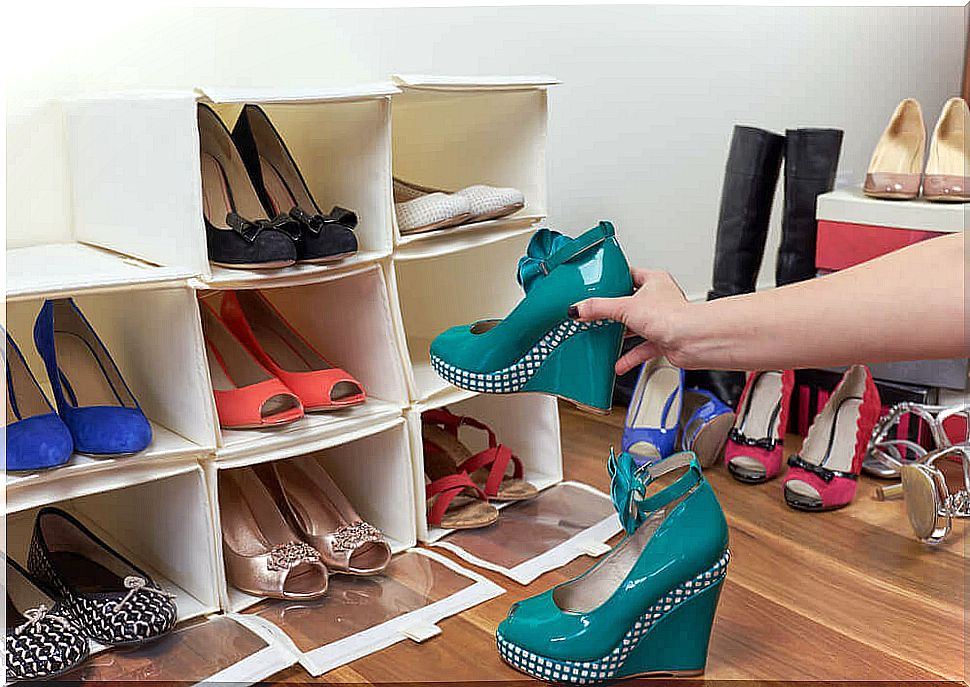
Whether for your business, for your stand at the flea market or simply for your own home: a shoe rack is always practical for creating order. And it can also be a beautiful decorative item.
Do you want to know how to build one yourself? And that with very few materials? Then you are right here!
They are available in different shapes, sizes and designs. A shoe rack is not only suitable for the presentation of goods. In addition, in a smaller format, it can also be a beautiful decorative element for the home.
There are really a lot of ideas for how you can easily build one yourself. And that with just two simple raw materials: wood and cardboard. Here we will show you how you can create your own shoe rack in just a few simple steps.
How do I build a wooden shoe rack?
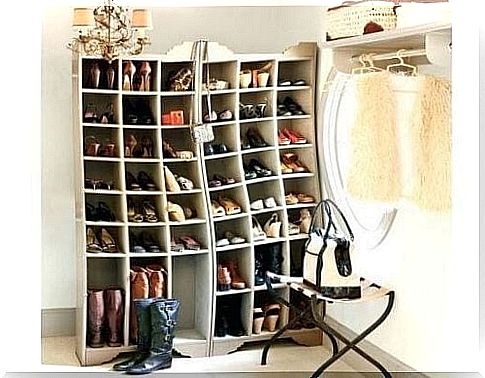
1. Traditional shoe rack
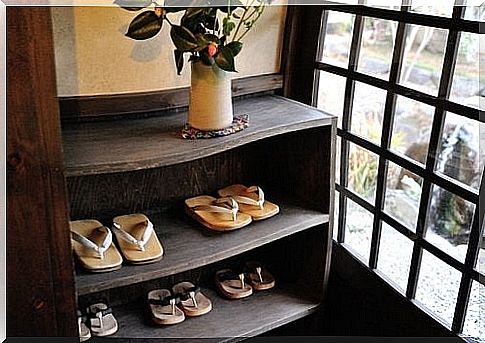
A traditional shoe rack is a good idea for small spaces. Or for those people who particularly value functionality.
Of course you need a certain amount of boards for this model. You will also need certain tools and items, such as screws and screwdrivers. Perhaps a helping hand could also be useful to you.
The number of boards depends on how big you want your shoe rack to be. In addition, the dimensions of course also depend on the space you have. In general, a shelf depth of 25 centimeters is recommended. This usually fits all types of shoes.
- As soon as you have obtained the appropriate wooden boards, the first thing to do is to cut rectangles for the side parts. These are placed vertically and create the necessary separation between the individual compartments.
- These side panels should each be placed about two to four inches from the end of the boards for the shelves. In addition, the rectangles will later also be used to divide the individual shelves among themselves. This way, you can create a multi-tier shoe rack.
- Instead of evenly distributing these vertical supports among each other, we recommend that you place them offset by a few centimeters in the individual shelves.
- Fixing the components is very simple: you screw the parts together with two vertically set screws. And, as just suggested: It looks nicer if you don’t place all the vertical boards in a straight line, but with a difference of a few centimeters.
This “sloppiness” has no effect on the good stability of the furniture. And it gives your shoe rack a very special visual touch.
2. Shoe rack made from wooden boxes
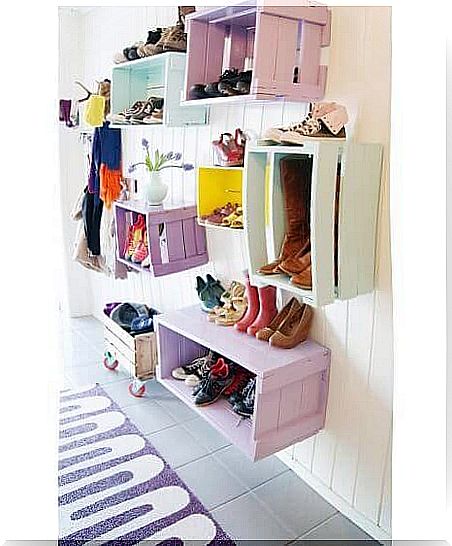
Did you know that wooden boxes, such as those from the greengrocer, have many other uses besides their original purpose?
One of them is to recycle them and make a shoe rack out of them. It’s very easy: First you should clean and prepare the wooden boxes a little. That means smoothing them out a bit with sandpaper, for example. Also replace missing nails and strengthen the boxes where necessary.
You can also paint or spray them in a color that you like. Another tip: If you leave some areas unpainted, it creates a very nice rustic effect.
Then you put the boxes in the place provided for the shoe rack. Do they fit in there and do you like the way it all looks?
Then you put some silicone on the boxes to bond them together and avoid mishaps when using them. You can also put some silicone on the back of the boxes to attach them to the wall.
Another recommendation: To achieve a nice and not so monotonous structure, you can place some boxes vertically and others horizontally. To get more space in the vertical boxes, you can insert a board in them. So you get another shelf.
And how do I build a cardboard shoe rack?
In addition to wood, you can also use cardboard in a very versatile way to build yourself a shoe rack. For example, you can use it to create a pyramid-shaped shelf.
This consists of several small triangles made of cardboard, each of which fits a shoe. To do this, you need several sheets of sturdy cardboard, snippets of newspaper, varnish, silicone, glue and tape.
This is how it works:
- First you cut rectangles of 45 × 30 centimeters from the cardboard. Then you fold them twice lengthways with a distance of 15 centimeters. Now you connect the ends with silicone and you get a triangle. Reinforce the connection with duct tape. Make as many of these triangles as you think necessary for your shoe rack.
- Then you cut another piece of cardboard so that all of the triangles that will form the bottom of your shelf fit next to each other. Remember that the width must be 30 centimeters.
- When you have the desired bottom, glue the corresponding triangles to it with silicone. In the same way you now connect the remaining triangles, which form the other floors of your shoe rack in a pyramid shape.
- Finally, create a mixture of glue and water (in equal parts) and use it to coat the entire outside of your pyramid shelf. Now use old newspapers to reinforce the box.
- Now you should let the whole thing dry for a few days. Then you can paint your shoe rack with the color you want and then varnish it. Of course, you can also leave some of the newspaper visible. That looks great!
As you can see: You can easily build your own shoe rack with just a few materials! And if you don’t have the necessary things at home, it’s easy to get them.
So, what are you waiting for? Get to work and build yourself an original and practical shoe rack!